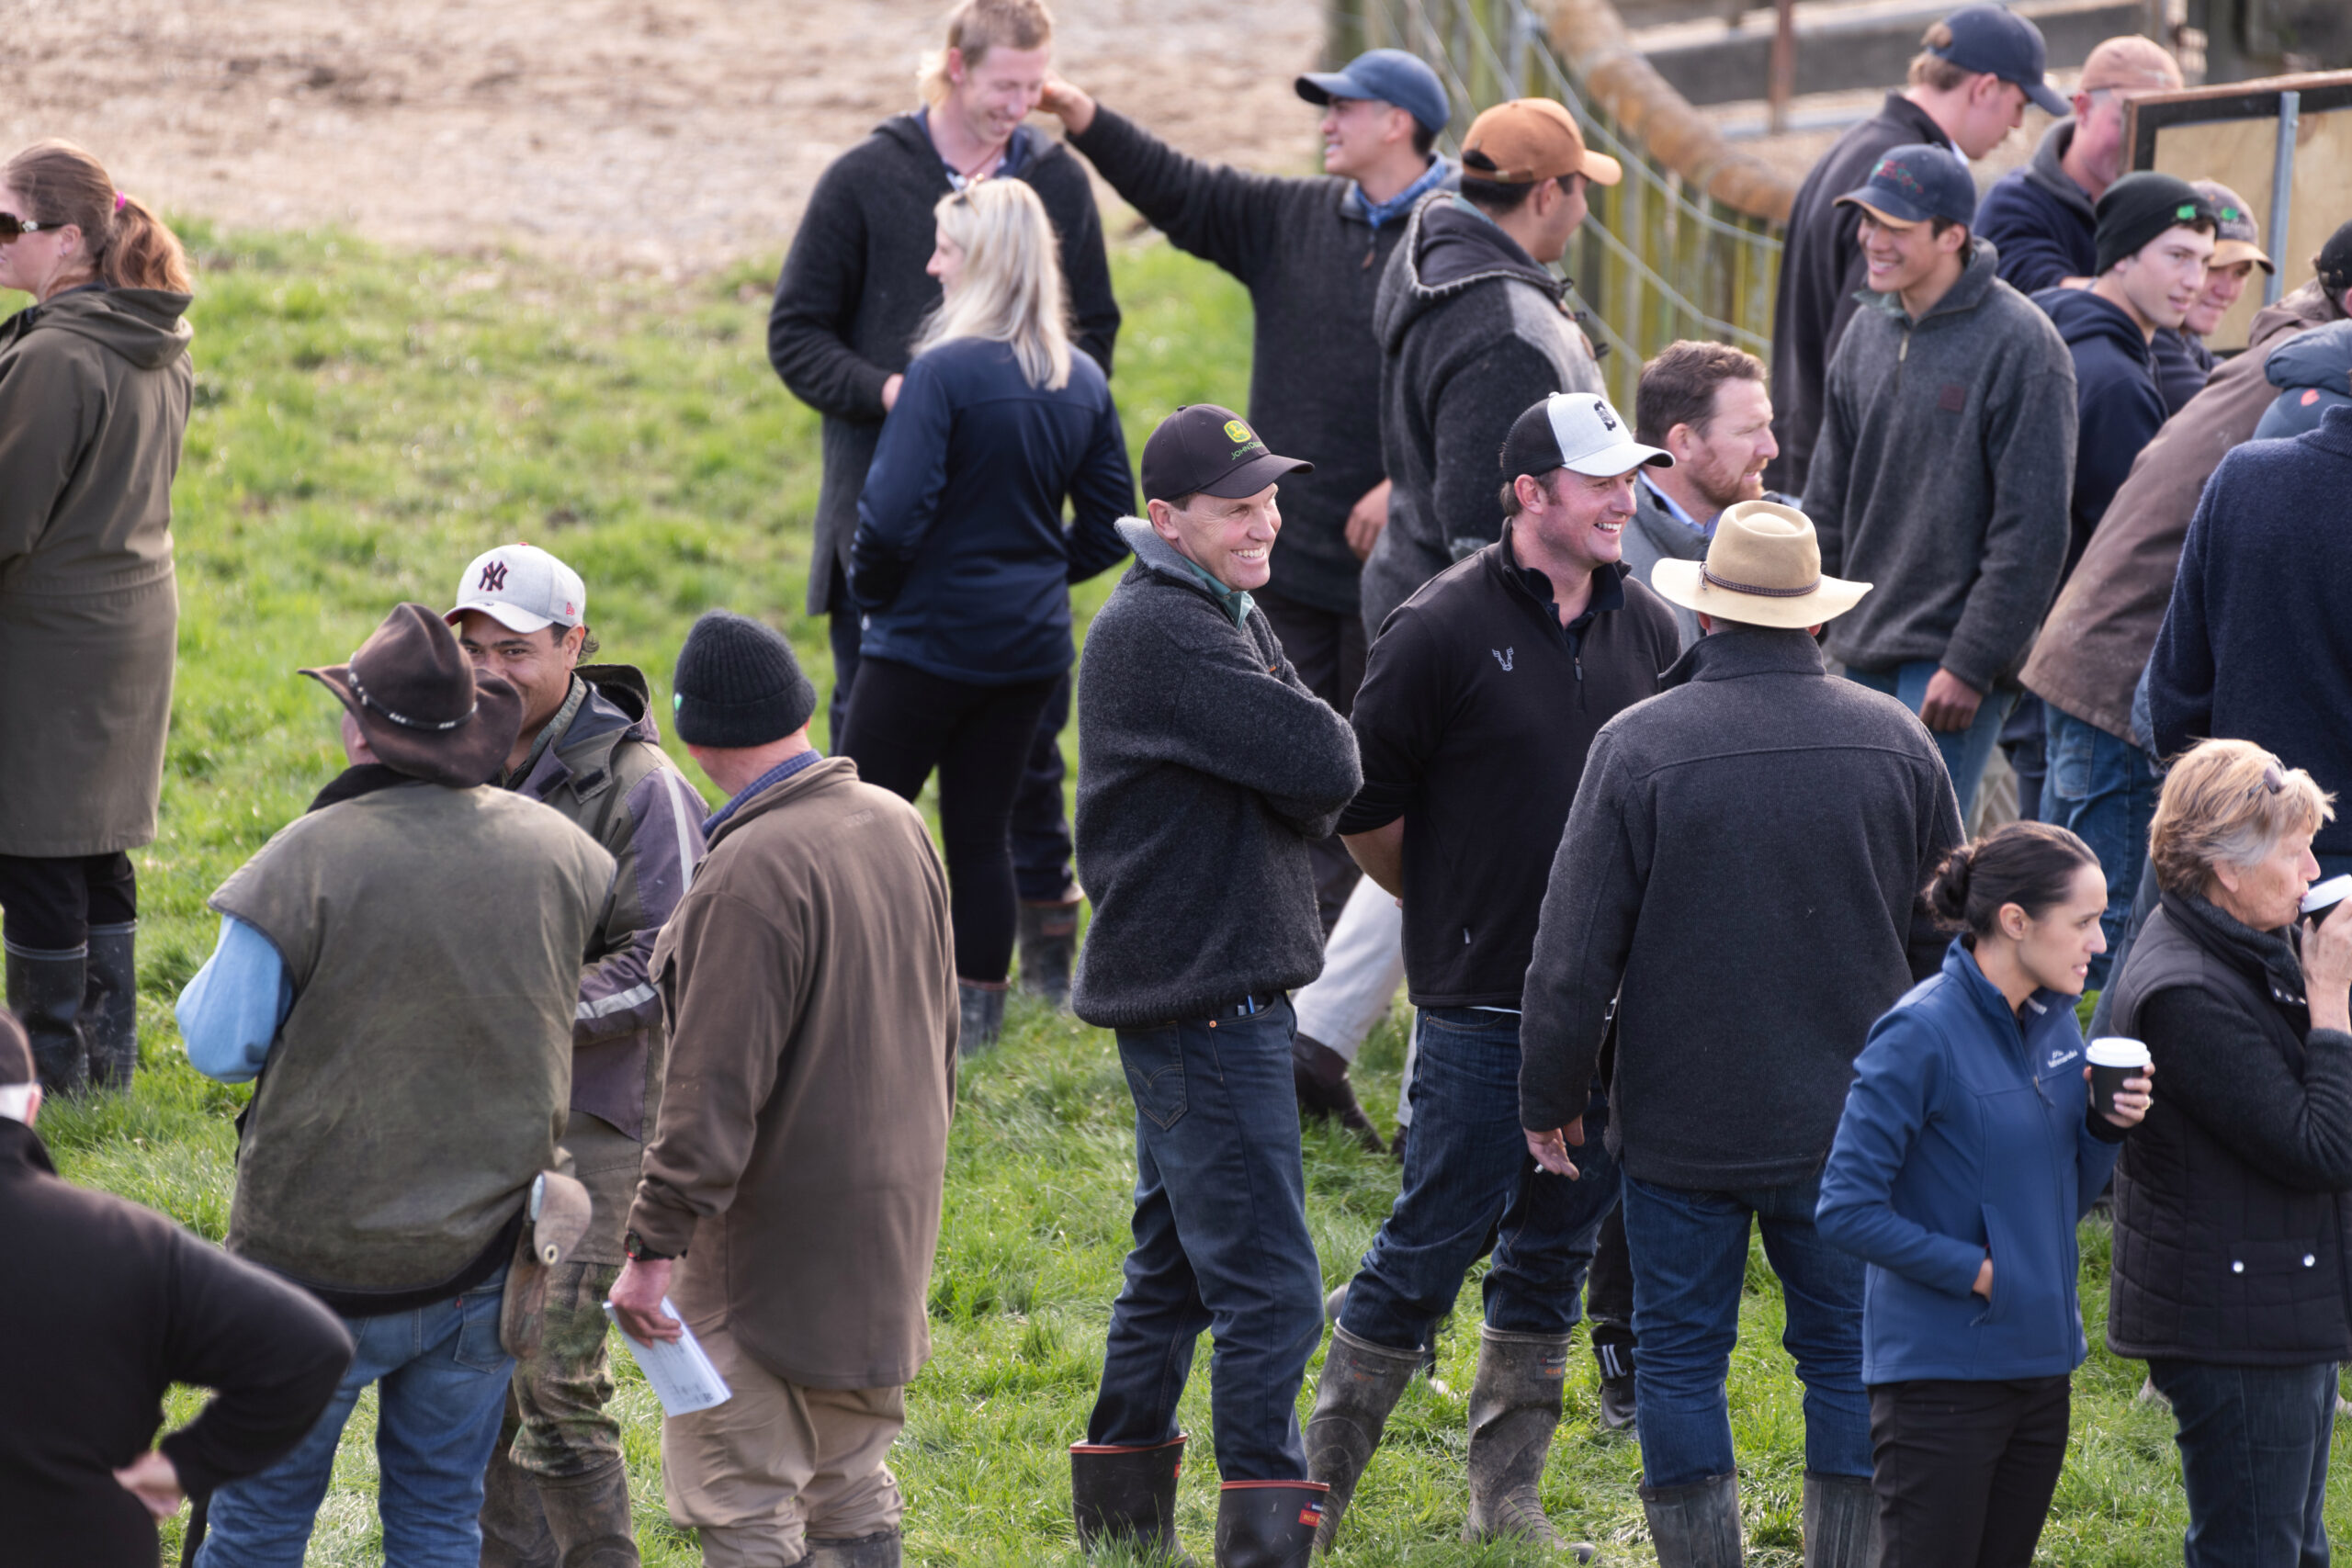
WHILE there are many professional livestock/stud stock photographers who do an excellent job, many bull breeders either choose to, or by necessity have to take their own stud stock photos, for catalogues, websites or digital/print advertising.
The advent of smart-phones with high-resolution cameras has made this job easier, and more accessible. Better still, consider investing in a full-frame digital SLR camera for the job, with a decent telephoto lens (75-105mm or 80-135mm are ideal for stud stock work). Expect to pay around $700-$800 – not much more than a single bid for one animal in a bull sale.
It’s not at all hard to find examples of less than successful photos of seedstock animals. This image appeared in a catalogue of bulls involved in an online semen sale, as recently as Friday. It breaks a number of the rules set out below.

Here are ten photography pointers – in no particular order – for bull breeders who are taking their own images this spring.
Timing:
It’s not uncommon to leave the photographs to the last minute, when under pressure from the catalogue printer or graphic designer for delivery. Try to take your images a little earlier, to take the pressure off, and allow for some time to ‘re-shoot’ if you’re not happy with the first results.
Time investment:
1) Be prepared to spend some time to capture the best images, capturing as many of the points outlined on this list as possible. You might get lucky, but don’t expect to get the best picture possible in the first two or three minutes. In fact walking the animal around and ‘starting again’ with a different stance can give you two or more different options to review and select from, when you download your images to your computer.
2) Wait for the animal to settle. It’s impossible to take a decent image of an animal which is fidgeting, stirred-up or on-the-move. Wait for him to settle, and then gently pressure him to step forward (or back) to adopt a better posture. Having a ‘mate’ in an adjacent yard, or nearby in the paddock can assist in avoiding an animal feeling isolated, and under pressure.
Dark-coated cattle:

The definition in dark-coated cattle can disappear in photos taken on overcast days when light is low
Angus are notoriously hard to photograph effectively, especially on overcast days. Muscle pattern can disappear altogether, leaving only a ‘silhouette’. The secret is to avoid a) overcast days, and b) the middle of the day, when the sun is directly overhead and the rest of the body is in deep shadow. Take your photos early morning, or later afternoon, when the sun is lower, with the sun behind you, illuminating the animal’s full profile, including the underline.
Ground slope:
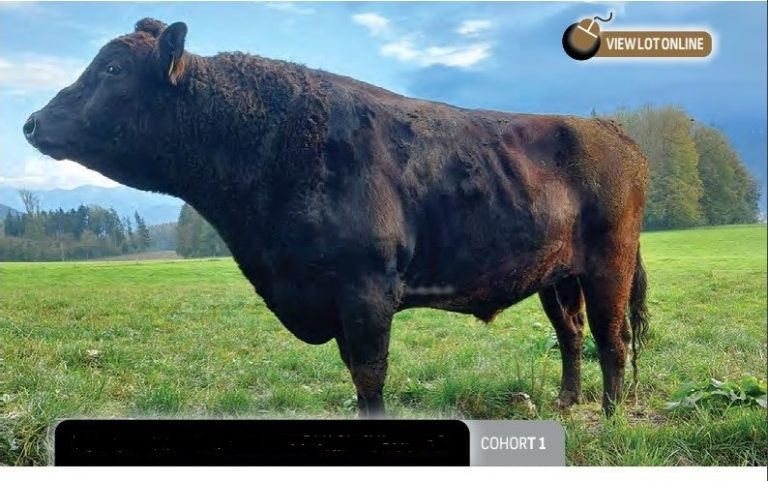
Look for the right location. Avoid uneven ground, where one front or hind leg is lower than the other, creating uneven shoulders or hips. Ideally, have the animal facing ‘up-hill’ on a slightly rising slope. The next best is flat ground, but avoid a downwards slope at all costs. A downhill orientation can give the impression of a hollow, or ‘swampy’ back, while slightly up-hill produces a flatter backline. It’s amazing how much difference ground slope can make in bull images, especially in Indicus-derived breeds, which often have a naturally ‘hollower’ back than Taurus.
Orientation:
The photographer’s position, relative to the animal, is important. The ideal position to take the image from is directly off the point of the shoulder. Further forward, and the animal looks too shoulder-heavy and under-developed in the hindquarter (see photo example above). One American style is to shoot from a lower, slightly more hindquarter angle, but it is difficult to pull-off without a very long lens, and has never caught-on in the Australian industry. Height of the camera is equally important. Aim for a slightly crouched shooting position, around 1.5 metres.
Feet placement:
There are very specific locations for feet placement when photographing halter-led cattle. They differ between beef bulls and females, and differ again for dairy cows, and Thoroughbred horses. All are important, but for unled animals photographed in ‘paddock’ or ‘yards’ settings (the subject of this piece of advice), it’s much more difficult to achieve. Instead, look to simply avoid the following:
- Over-extension, where there is too much space between forelegs and hind legs
- Under-extension, where the animal appears ‘tucked-up’ because the fore and hind legs are too close together. All four legs comfortably under the animal is ideal.
- Avoid ‘scissor legs’ at front or hind, but aim to see all four legs in the image (refer to example). In a perfect world, the near-side legs should be a little behind the off-side, both front and rear. Avoid ‘slouching’ in posture, where the animal takes its weight off one of its legs, just as humans sometimes do.
Head placement:
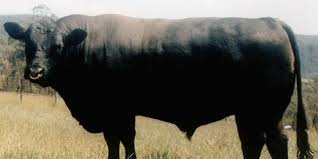
Not always easy, but it’s worth trying to encourage the animal (noises – see below) to position his head correctly. Straight ahead is not ideal, but worse-still is fully ‘rotated’ towards the camera (see image). Three quarters is what you’re looking for. In Indicus bulls with heavily-hooded eyes, you’re looking to just see the hood of the offside eye.
Ears:
Little things matter in a successful bull photo, such as ear placement. Pricked (forward) ears give the impression of alertness, and provide (to use a tired old industry cliché) a ‘sirey outlook’. A crackly plastic bag, or a few ‘man-made moos’ is often all it takes to get the subject animal to prick his ears. Pro photographers sometimes capture some cattle bellowing as an audio file on their iphone, and replay it to capture a bull’s attention during the photo session.
Here’s a couple of slightly more technical suggestions….
Optical distortion, or ‘key-stoning’:
Optical distortion happens when the photographer stands too close to the animal, and uses a wide-angle lens setting. The optical distortion effect is clearly evident in the image published above. Technically speaking, anything less than 50mm is considered wide-angle. The solution is to stand a little further back from the bull, and ‘zoom-in’, filling the viewfinder or screen, using telephoto. This is even possible using an iphone camera, by ‘pinching in’ or ‘pulling’, using two fingers on the screen, to provide some digital zoom. A much more natural image is the result.
Backgrounds:
Avoid distracting backgrounds, like a tree ‘growing out of the animal’s back.’ Look for uniform, contrasting backgrounds. For more technically-competent photographers, adjust depth-of-field (using combinations of ISO/ASA, shutter speed and aperture) to ‘blur’ the background. Take care not to let shutter speed drop below 125/sec, though, to avoid animal movement or ‘camera-shake’ blurring, especially in telephoto. If all else fails, a competent graphic designer can remove a tree in the background of an image, using Photoshop – but it costs time, and money.
If in doubt….
At the end of the day, it may be better to leave the photo out of your ad/web-page/catalogue altogether, if you are not reasonably satisfied with the result. A poor photo can do more damage than good to the bull’s prospects.